Update BlueIO firmware using RaspberryPi
September 28, 2021
The BleuIO comes with a bootloader to allow you to update the firmware or flash your own application to the dongle. To flash the dongle, you will need an image file containing the new firmware or your own application and a host USB loader application.
You can download the latest firmware, and host USB loader from our getting started guide.
This article will explain how to update a BleuIO dongle using a RaspberryPi.
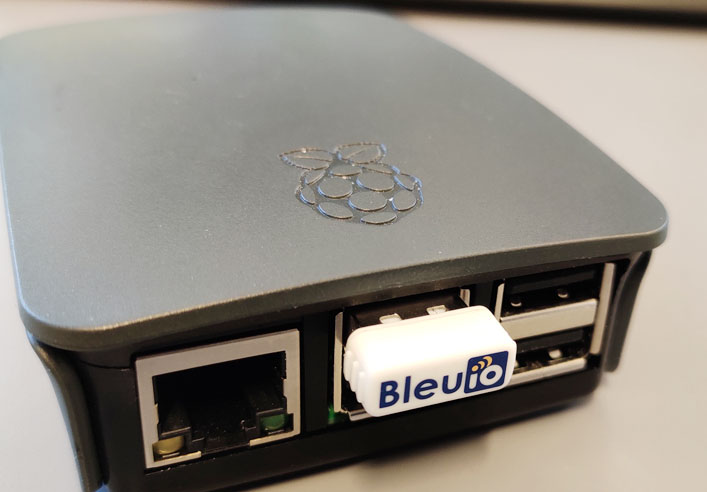
Connect the BleuIO dongle to your Linux / RaspberryPi.
To identify which device name the dongle is connected to, you will need to run ls /dev on the terminal.
You might need to do it twice, once before you connect the dongle and once after, to be able to identify which one is the device name.
The following screenshot shows devices list before and after connecting the dongle.

The BleuIO includes a bootloader that allows you to update the firmware easily. When starting up, the dongle will open up a COM port for the bootloader for 10 seconds to allow you to update the firmware (or flash your own application). Afterwards, it will close that port and open a new port for the BleuIO application.
Now that you know the device name, you can run the following command to update the dongle.
sudo ./host_usb_updater /dev/ttyACM0 ./example_firmware.img -verbose
The /dev/ttyACM0 means USB-CDC driver of Linux.
NOTE: The device name may vary and may not be the same as in the picture above.
After running this command successfully, you will see Result: Pass on your terminal.

Facebook Twitter LinkedIn